Learn How to Braid: 5 Simple Actions
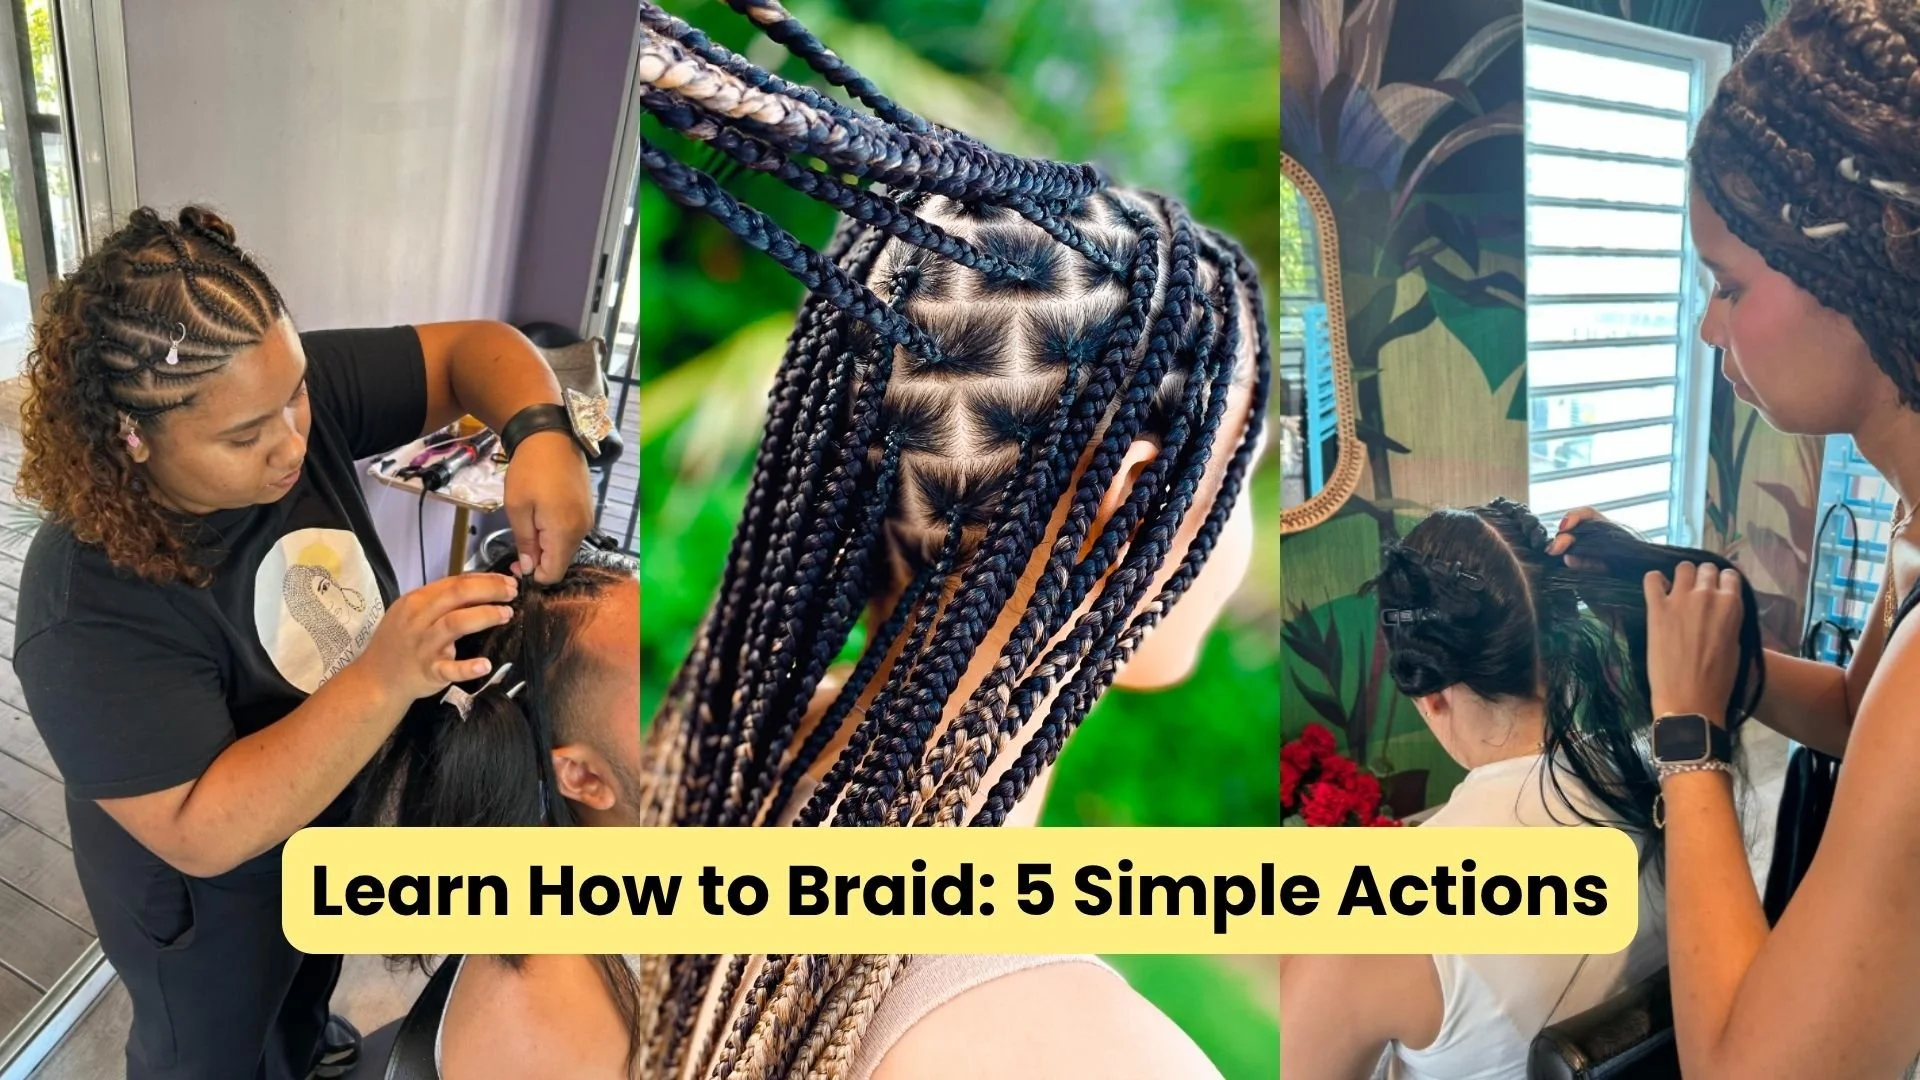
What distinguishes a professional braided hairstyle from an amateur one? Simple: It’s all in the technique.
After serving over 3,000 clients in my professional braiding studio and having taught and empowered many local braiders seeking work opportunities, I’ve developed a system that anyone who wants to learn how to braid can implement.
And if you came looking for a braid tutorial, today is your lucky day, because I’m here to share it with you. This system is the same one I use to train new braiders at the studio, the one we use every day to braid our clients, and, of course, the one that has earned us a 5-star reputation as the best braiding studio in Puerto Rico.
My goal is to teach you how to create beautiful braids so you can braid with confidence and clarity and unlock your true creative potential. That’s why, in this article, I’ll tell you the basics about the Five Braid Actions™ system so you can learn how to braid like a pro and check your work to see which areas may need improvement.
Are you ready to create fabulous, long-lasting braids? Then, let’s begin!
How I Came Up With This System on How to Braid?
Enough mystery already! What are those five actions my system is all about? These:
Part
Grip
Feed
Hide
Seal
So you may wonder, how did I develop this system? It was a real challenge! When I first decided to train new braiders at Sunny Braids, I realized it was taking months. At first, I thought it was all a matter of practice. But the thing was that my trainees practiced a lot, and still showed no improvement. After a while, I decided to think out of the box: How could we distill 20,000 hours of practice into something you can put into action and get immediate results?
That’s when it hit me: Every single braid you create comes from these five braid actions: Part, grip, feed, hide, seal. You may be braiding box braids, cornrows, Fulani braids, two braids… it doesn’t matter. Just think about the ingredients for creating muffins, cupcakes, or cake: You always need flour, sugar, eggs, and butter. The recipe may change, but the ingredients remain the same!
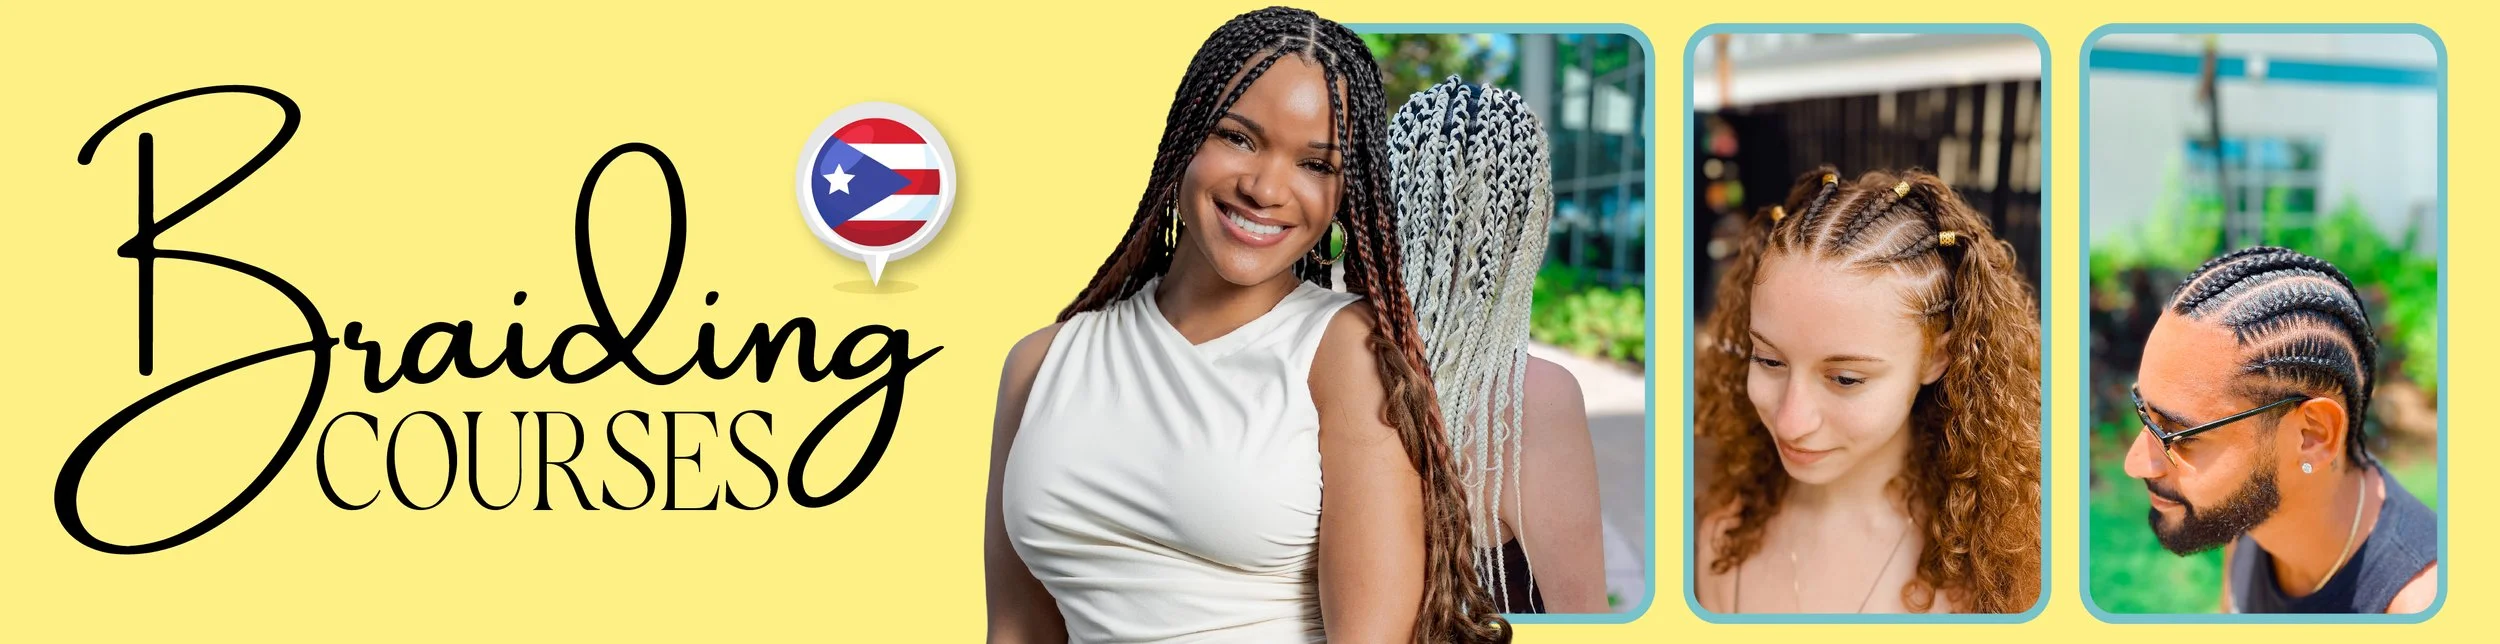
How to Braid With the Five Braid Actions ™ System
I’m not exaggerating when I tell you every single braided hairstyle needs you to follow just five steps: part, grip, feed, hide, seal. Conversely, every time you notice some uneven, messy braids, something has gone wrong and needs fixing in one of those five specific actions. Once you identify them and see their importance in the final result, you’ll be able to address your mistakes and dramatically improve your results in very little time.
So, without further delay, let’s go through each of the Five Braid Actions™ and see their importance.
Braid Action #1: Part
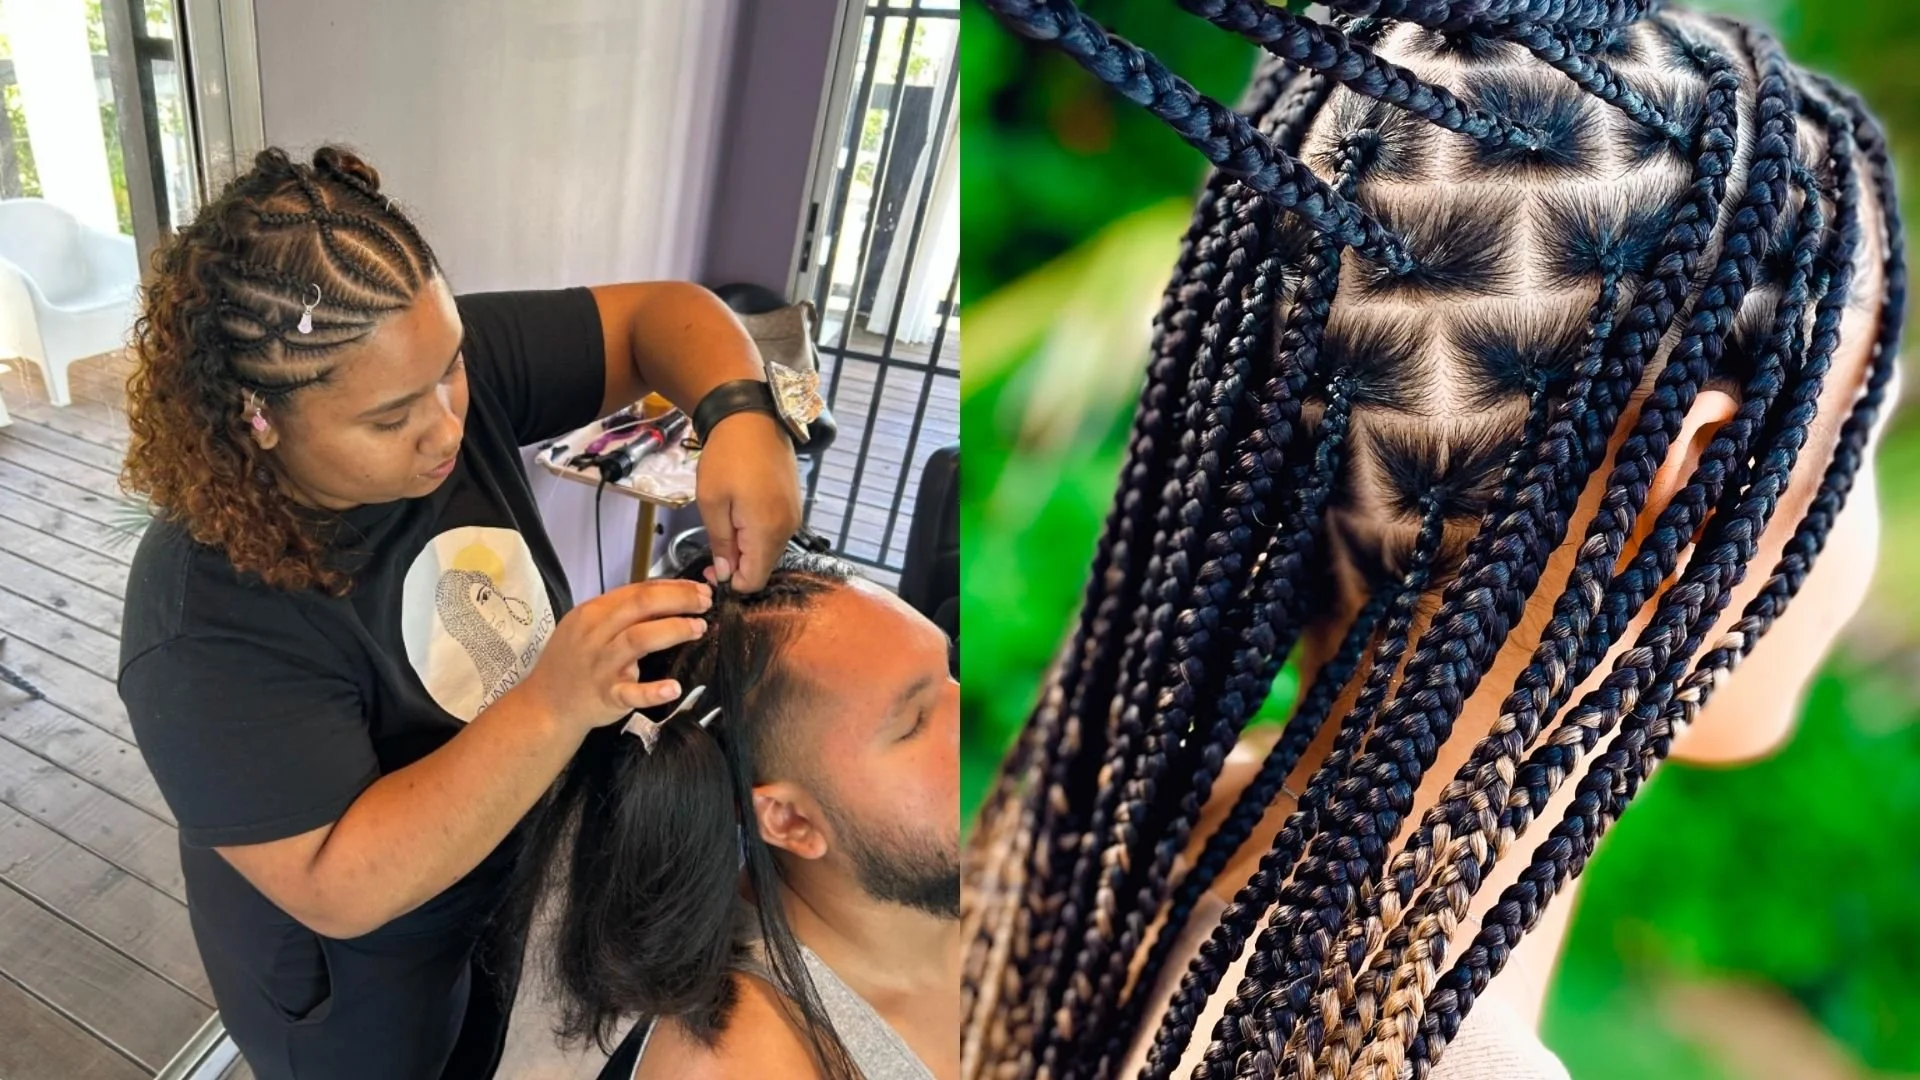
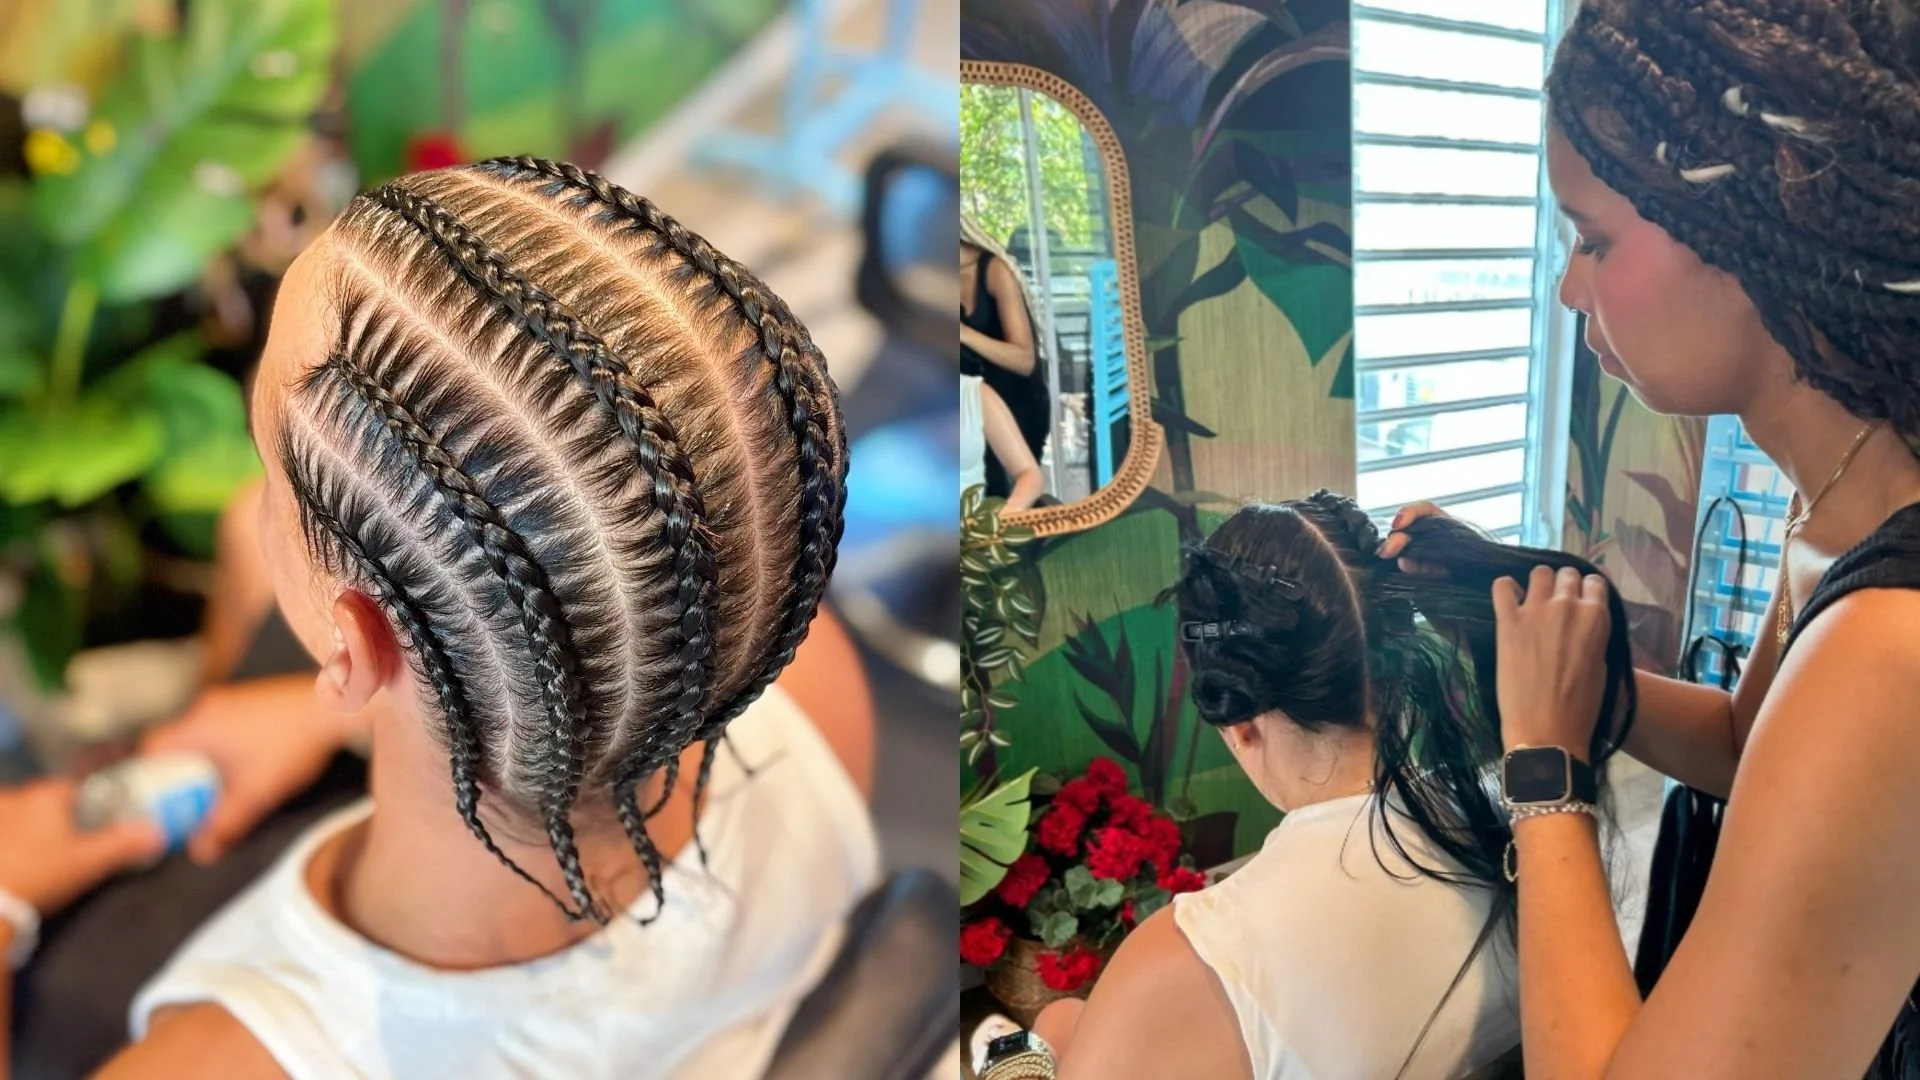
This is the process of dividing the hair into sections before braiding. It’s like setting up a canvas on which to paint a delicate work of art. Never take parts for granted! Proper parts elevate the appearance of your braids and show your skills as a true braiding artist.
The most important tool you need to create parts is the braiding comb. You need to understand it! It has two ends: One for creating the parts (the rat tail) and the other for cleaning them (the precision end), just like a pencil has a tip and an eraser.
Professional parts are clean and straight. You don’t see loose hair. They don’t look crooked. Clean parts mean professional braids, while messy parts mean messy, amateur braids. This is particularly important if you want to braid clients for a living. Remember: Your clients are your walking portfolio. Every hairstyle you create can bring new people into your studio when they approach your client with an amazed: “Who did your braids?”
Braid Action #2: Grip
I call “grip” the strength you use to hold and manipulate hair when you’re braiding. A good grip is one that keeps the hair firm and tight, which results in long-lasting braids. Many people come to the studio asking how long braids last. Box braids, for instance, can last for several weeks when professionally done!
This is how you can tell you need to perfect your grip: The braids you create don’t last more than 3 or 4 days. You see, amateur braiders grip too loosely. The problem is that if you braid professionally, you can’t expect your clients to spend several hours getting their hair braided and pay money for a hairstyle that won’t last. You’ll get a lot of complains!
And even if you only want to braid your kid for school, the whole purpose of braiding their hair is saving time from that morning rush. If you have to braid their hair over and over again, you are wasting time instead.
On the other side, I can’t tell you how many times I had clients with braids that were too tight, telling me that their braider back home just braids them that way. This is also a major issue. Mainly because a grip too tight may cause hair breakage. But also because braids shouldn’t hurt! Your clients come to you to feel beautiful and empowered, not uncomfortable and painful. If someone needs to take a painkiller after you braid them, then you definitely need to work on the grip.
The professional braider needs to achieve just the right balance when it comes to grip: Not too tight, not too loose. Imagine you’re a surgeon, you need to be as precise as one of them!
Braid Action #3: Feed
This involves adding extensions little by little while yu’re braiding. I have heard braiders telling me they know how to braid unless they need to add extensions. In my opinion, this means their technique lacks consistency: The right braiding technique should allow you to braid exactly the same, regardless of whether you’re adding extensions or not.
What does a good feed look like? The braid should look natural and seamless, without showing where the extension begins. It should maintain a consistent size throughout. In other words, if you can see where the extensions begin, it means you’re a beginner braider. We want the feed-ins to look invisible; we don’t want to see where the extensions begin! All you need to notice is a beautiful, elegant growth in a section of the braid, but not where the extensions are actually placed.
Braid Action #4: Hide
This consists of the process of hiding the client’s hair inside the braid by wrapping it with the extensions. With the right technique, you can braid even short hair, as it naturally blends in the extensions that provide body to the braids of the desired length.
There are two main types of hide: You can hide the color or hide the ends. For the first, you can’t see the client’s hair as it’s completely wrapped and protected inside the extensions. For the second one, the client’s hair intertwines with the extension hair, and you need to make sure the ends aren’t “peeking” through the extension. Many beginners struggle with this a lot!
Braid Action #5: Seal
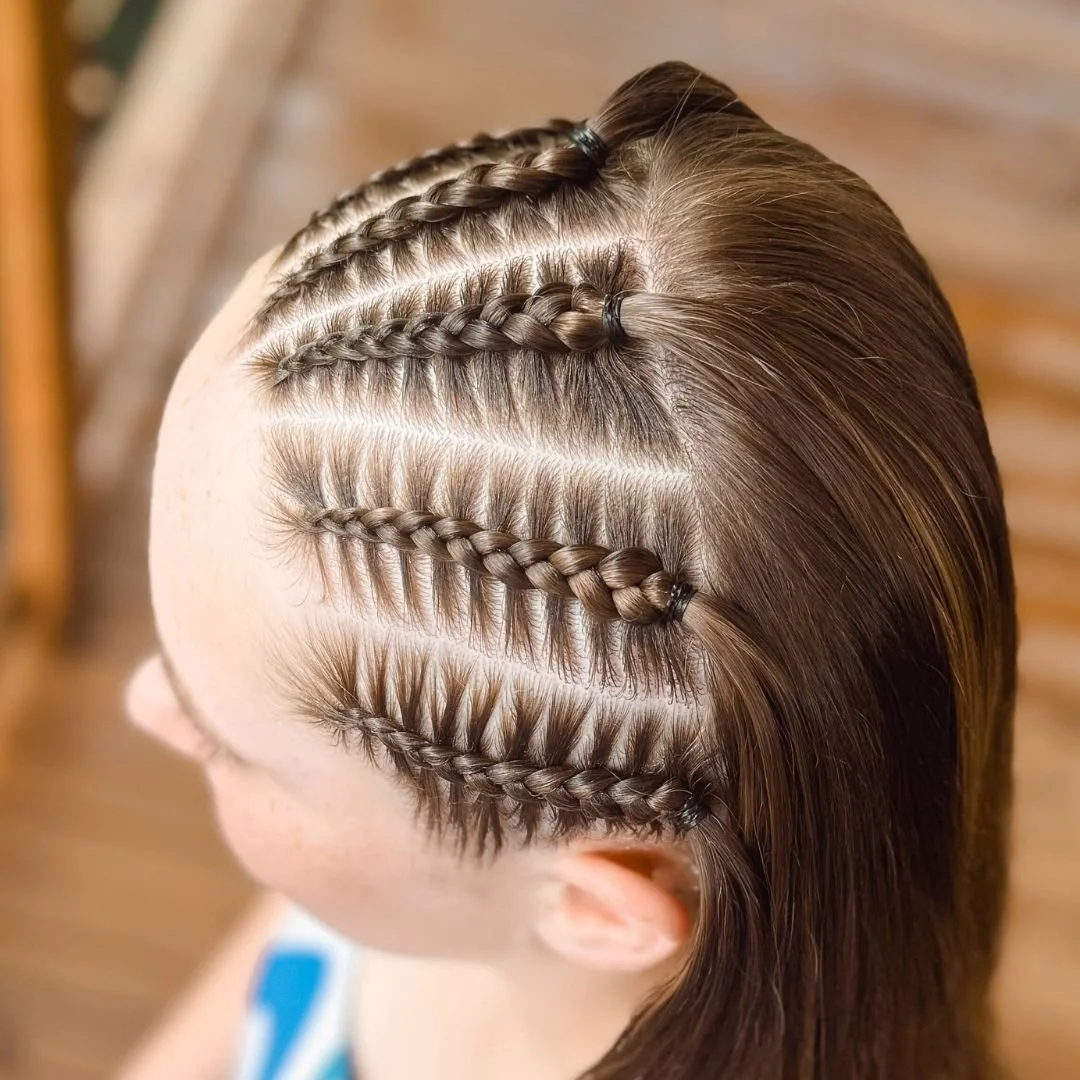
You part, you grip properly, you feed in seamlessly, and manage to perfectly conceal your client’s hair. Your braid is ready. Yay! Now, what do you do to prevent them from unraveling? This is the final action: The process of sealing the ends of the braids to prevent them from untangling.
You have many different methods to seal the end of your braids, such as hot water, iron, adding rubber bands, or beads. This depends heavily on the style of the braid, as well as your clients preference. Different braids call for different seals: Do you want curly ends? Wavy ends? Wanna decorate your braids with colorful beads? There aren’t wrong or right answers, all the options are possible. Just make sure you take your time to do it properly: Again, if you make a mistake when sealing, your braids won’t last and won’t look professional.
The Five Braid Actions™: More Than Another Braid Tutorial
Why do I personally implement and teach this method? Easy: Not only allows you to create any braided hairstyle you might think of, but it also helps you address your current braiding mistakes. If something looks wrong with your braids is because one of these actions needs to be fixed. Are your current braids too loose? Do they look uneven? Do they look weird? Do they unravel easily?
The 5 Braid Actions™ system in Sunny Braids is designed to give you awareness, an understanding of the whole braiding process, so you go from “I don’t know what I’m doing wrong” to “I know exactly what to fix.”Now that you’ve understood part, grip, feed in, hide, and seal, you can begin assessing your current technique to spot the areas that need improving.
Do you want to learn how to braid like a pro and apply step by step each of the 5 actions? Great news! Sign up for a FREE braid webinar and start your training with our method. Start saving time and going from amateur braiding to mastering the skill you love.
Get your free training today!