Braid Troubleshooting: How to Braid Better and Fix Your Current Mistakes (Part 1)

Hello, Sunnies! I’m happy to guide everyone who wants to learn how to braid hair and create amazing styles for themselves, their children, or to make a living doing what they love. As the owner of the most recommended braiding studio in Puerto Rico, I’m here to help.
Some people have always dreamed of learning to braid and come to our blog looking for their first braid tutorial. Many, many others have some previous braiding experience, but are still far from satisfied with their current results. If this is you, who wants to know how to braid better, more professionally, or with long-lasting results, you’ve come to the right place. Still, if you’ve never braided before, spotting some common mistakes will help you navigate the amateur stage way faster and master braiding with the right technique from the start.
After reading this, you’ll move from “Okay, I don’t know what I’m doing!” to “I know exactly how to fix this!” Ready for the exact tip on how to braid you need? Let’s go!
How to Braid Better With This Guide
This 2-part article is a guide for everyone out there who knows how to braid but keeps bumping into the same mistakes over and over. Maybe you thought (like I did) that it was all a matter of practice, but more often than not, practice alone is not enough: Most times, you need to work on a specific aspect of your braiding technique.
Following, I’ll go through many common braiding mistakes and, what’s most important, how to fix them! Whether you’re already trying to braid but not getting what you want, or if you are a first-time braider and want to dodge common mistakes, this troubleshooting guide is for you. You can either read the whole list or go find your precise braiding errors (based on your current results) so you can get hands-on with our braiding system and start creating long-lasting, professional braids from now on.
Braiding Mistake #1: Your Braids Look Uneven
This is the most common way to spot amateur braids: They look mismatched. Maybe, if you look at each individual braid, you can’t tell there’s anything wrong with them, but they just don’t look like they belong to the same hairstyle. One is always thicker than the other, or they seem odd somehow. Maybe one of them falls to one side, and the other is too straight…
This difference doesn’t just apply to the two-braid hairstyle; it also happens when you’re creating other hairstyles, for example, six front cornrows. In any case, it’s more distinguishable with what should be a simple hairstyle like the classic boxer braids. This is because the fewer braids you have in the hairstyle, the more noticeable the difference will be (if you’re braiding a whole head of small box braids and a few of them are slightly thinner, no one will tell without a closer look).
What’s going on here? And more importantly, how can you fix it? I’ve seen uneven braids countless times, and more often than not, the answer isn’t in the braiding itself but before that: It’s the hair parts. You see, creating spotless hair parts is the first step towards professional braids.
Imagine that you’re aiming for two braids. If you split your client’s hair anywhere, and not in the exact center, you’ll get more hair on one side than on the other. The result? One braid will be thicker than the other one! Splitting the hair with precision will result in even amounts of hair for each braid, and then there you go: Your braids will look even and more professional!
And, speaking of hair parts…
Braiding Mistake #2: The Hair Parts Look Messy
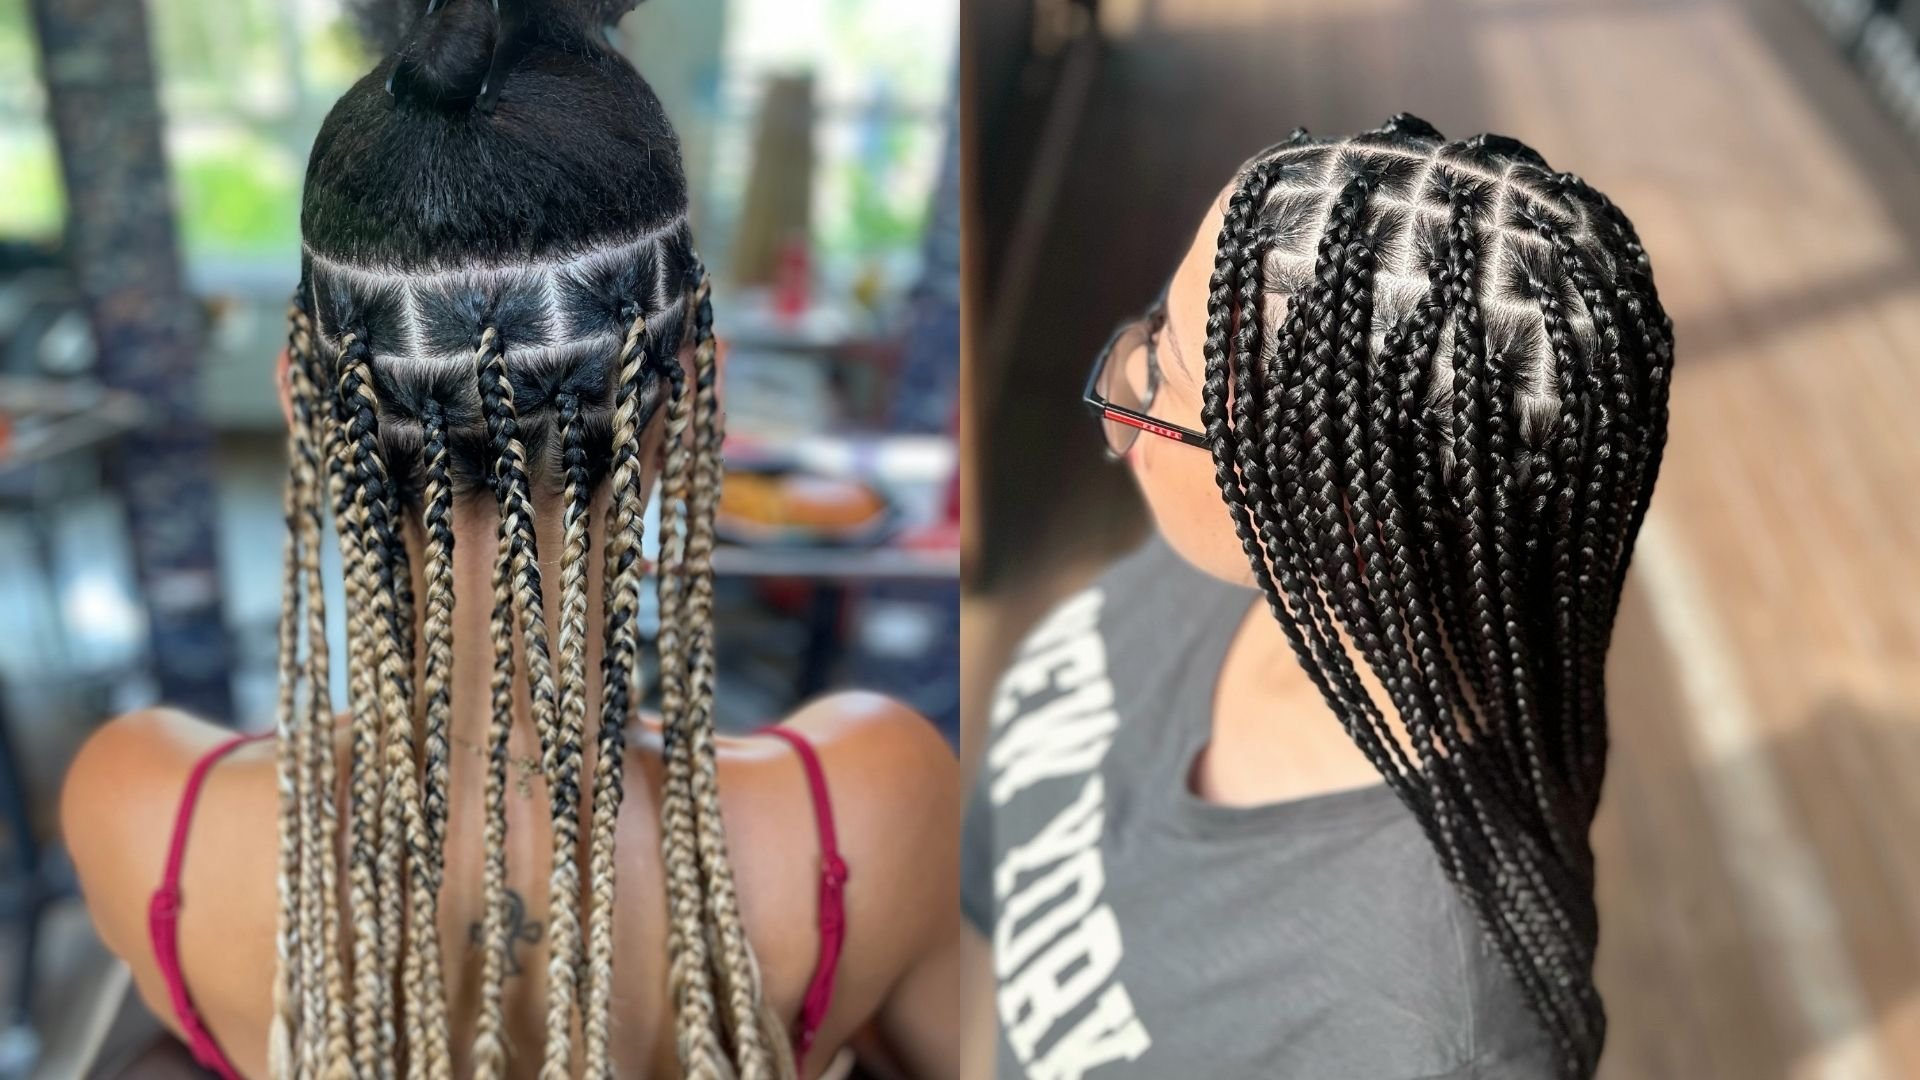
If your braids turn up fine, but when you look at the client’s head you see that the middle part is all crooked, or the parts look anything less than spotless, that may spoil the whole hairstyle. Crooked, messy parts are typical of amateur braiders. On the contrary, clean, straight parts are like the canvas on which you create perfect, spotless braids.
How to fix it? Parting is the first necessary action according to my Five Braid Actions™ system. It shouldn’t take too long if you learn how to do it right: Use the rat tail of the braiding comb to part hair, spread some braiding gel, and use the precision end to clean the parts.
Trust me: It may seem that parting hair has nothing to do with braiding, but it’s a major step! Instead of keeping practicing your braids over and over, focus on getting the parts right. Do them again and again until you’re satisfied with the results.
Braiding Mistake #3: The Braids Look Amazing, But The Client Is in Pain
Do people reach for a Tylenol right after their braiding appointment? Or perhaps your kids run away from you after they notice you are holding the comb? There’s no point in creating fabulous-looking braids if the person wearing them can’t enjoy them. Braids should be about looking and feeling great, not about hurting.
So, how to fix it? If your braids cause pain, whether during the braiding process or afterwards, you need to work on the second action of the braiding process, which is grip. One thing is holding each hair strand firmly, and another is pulling the person’s hair!
Here’s another good reason to work on your grip: Braiding too tight may cause hair breakage. Think about how many people get their hair braided to protect it: You don’t want your braids to cause the exact opposite. You need to find the right balance and precision with your grip, as if you were a surgeon (after all, you’re still working with humans, and they are trusting you with their bodies).
Braiding Mistake #4: You’re Creating Loose Braids
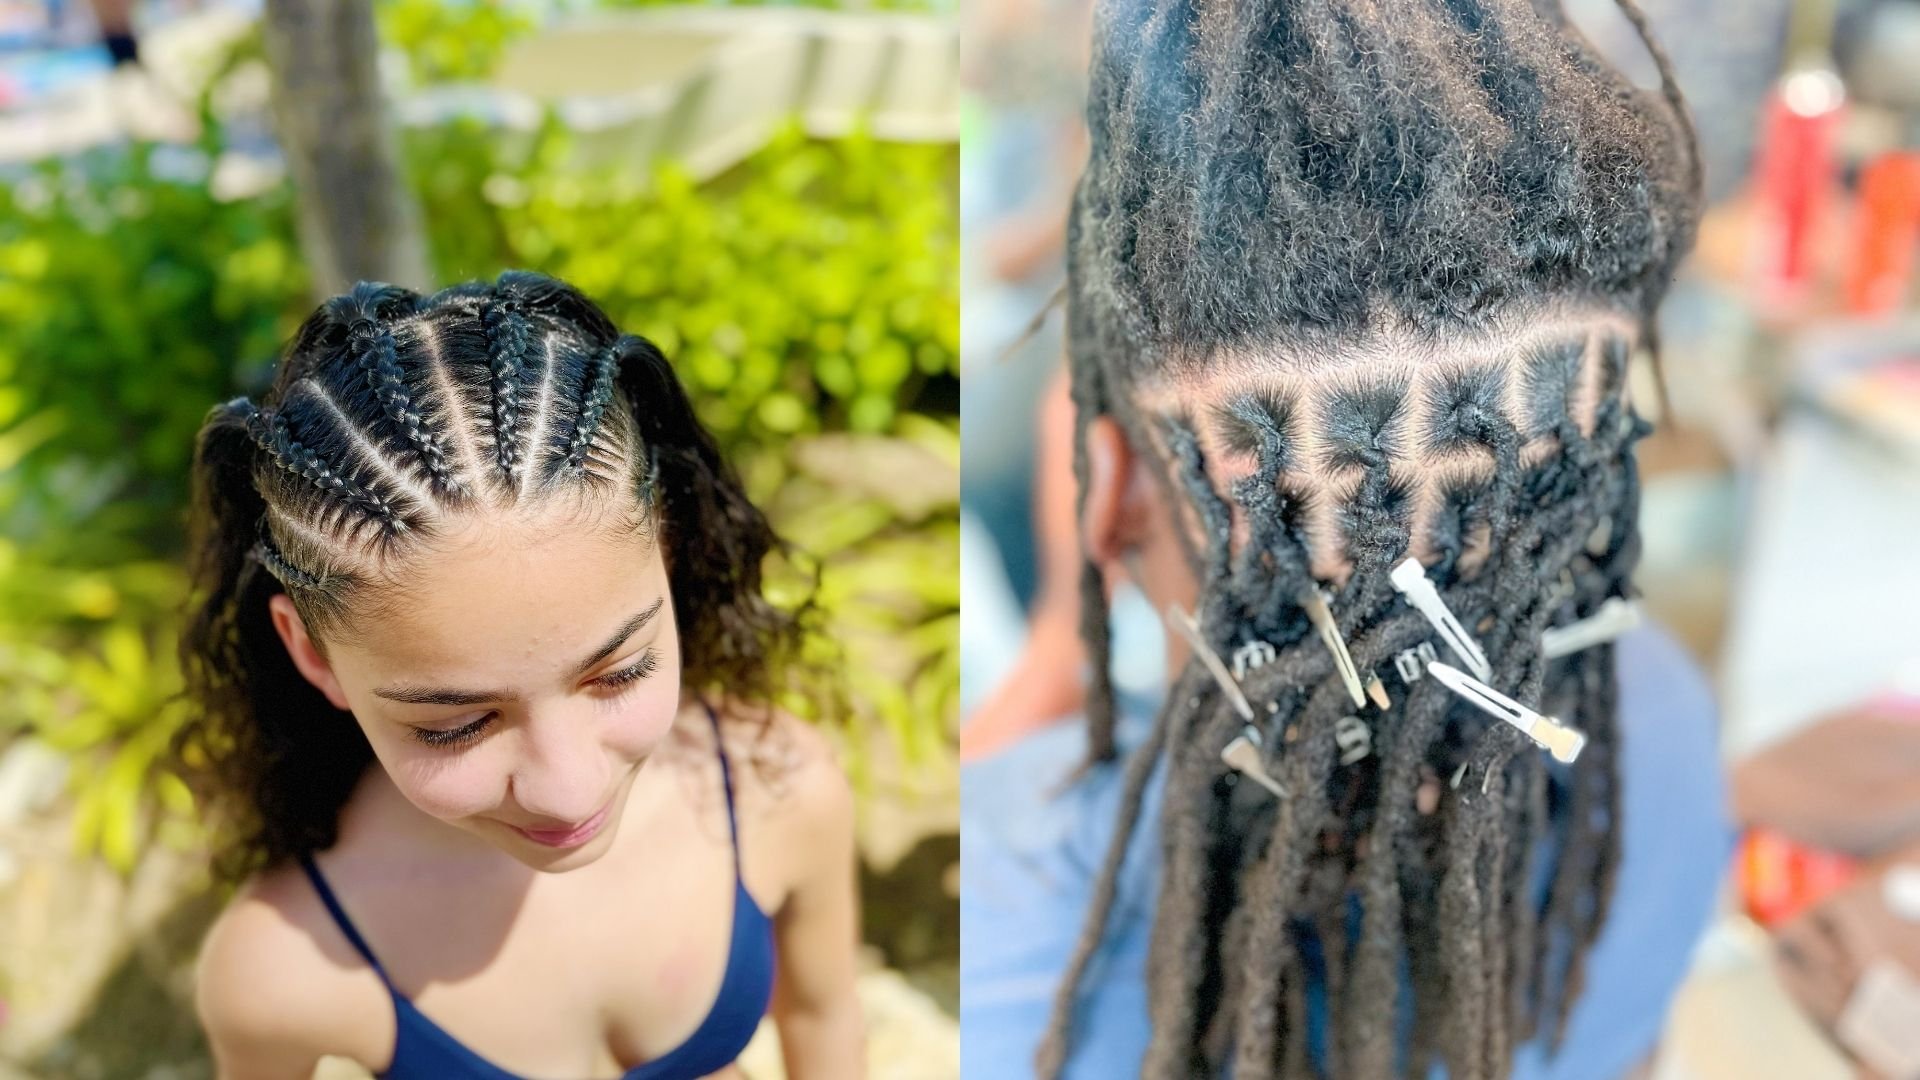
Many people claim they know how to braid, but they have to redo their children’s hairstyles every day. Well, let me be honest with you: A major pro of braiding your kids is saving time through the morning rush. If you have to redo their braids every time because they come out all loose, then braiding their hair is pointless.
If you braid for a living, that’s even worse: You can’t expect a client to pay money for a braided hairstyle that only lasts in place for a couple of days. Braids are supposed to stay in place and protect their hair for several days, or even weeks when it comes to box braids! If the braids you’ve created feel loose, you’ll get nothing but complaints and refund requests.
So, how to fix it? When dealing with loose braids, the problem probably lies in the grip (something different happens if your braids look tight and neat, but unravel quickly; we’ll go through that issue in Part 2 of this guide). You don’t want to pull the hair strands too hard and hurt the person you’re braiding, but you need certain firmness to make sure the braids stay in place.
Grip is the second action in Sunny Braids’s Five Braid Actions™ system. Once you learn how to properly grip, your braids will look neat and last longer.
Braiding Mistake #5: Your Braids Look Great, But Braiding Hurts YOU!
We all agree that we don’t want to hurt our clients, or our children, or whoever we’re braiding. We’ve already seen how to avoid that, but what if the braiding process is painful to someone other than the client? I mean you, of course! Many amateur braiders come to tell me so: “Okay, so my braids look great, but after braiding, I feel exhausted! There must be something I can work on!”
So, how to fix it? If you spend several hours a day braiding hair, it’s important to take good care of your hands. After all, they’re your work tools! Like any repetitive task, braiding for hours may cause numbness, swelling, or a burning sensation on your hands. Fortunately, there’s a lot you can do, from increasing your magnesium intake to getting hand massages. Regularly stretching and taking breaks when you braid will help you prevent carpal tunnel syndrome.
Additionally, I’ve heard many braiders complaining not just about their hands, but their back, shoulders, wrists, or neck. Here’s a tip: Check whether you are braiding overhand or underhand. In my opinion, many postural injuries come from using the underhand method, which I find less natural: You need to raise your elbows and place your hands in an uncomfortable position. Try switching to overhand instead! You’ll naturally adopt a more comfortable position that will prevent unnecessary tensions and keep the braiding process painless and fast.
We’ve spotted five of the most common braiding mistakes. Stay tuned for the second part of this guide!
In the meantime, if you want to braid like a pro and are tired of scrolling through useless braid tutorials, sign up for our braiding lessons! By implementing the Five Braid Actions™ system, you’ll learn how to braid like a pro. The best part is that you don’t need tons of practice, as you’ll get results in just two hours.
Sign up and learn with SUNNY BRAIDS today!