Braid Troubleshooting: How to Braid Better and Fix Your Current Mistakes (Part 2)

Hi, Sunnies! Looking forward to learning how to braid professionally? Do you already create nice braids, but want to upgrade them to really turn heads? Or maybe you’re feeling frustrated because no braid tutorial can tell you exactly what you’re doing wrong or how to place your hands? In any case, I’m here to help!
After serving 3,000+ clients in Sunny Braids, Puerto Rico’s most recommended studio, I’ve started teaching others who also want to braid for a living, or who wish to create beautiful braided hairstyles for their kids, their friends, or themselves.
In a previous article, we explored some common braiding mistakes. As I told you, I don’t think anyone can learn to braid with just lots and lots of practice. If you have learned the wrong technique, you’ll just repeat the same thing over and over. No matter how many times you attempt the hairstyle, your braids will always come uneven, messy, or loose! On the other hand, if you learn the right braiding technique, you don’t need to practice for days and days—when my students try the right way, they get results in just 2 hours!
Now, let’s go straight to Part 2 of our braid troubleshooting guide.
Braiding Mistake #6: Visible Extensions
I can’t tell you how many times a braider comes into the studio to get braiding lessonsand they tell me, “Oh, I can braid hair, as long as I don’t have to add extensions”. Many amateur braiders search for information on how to add extensions to box braidsas if it were a separate technique. The truth is, when you implement the right braiding technique and follow five specific braiding actions, you’ll be able to braid hair with or without extensions.
Plus, many clients love extensions in their braids! Extensions allow you to dramatically change the hair length and play with colors without using chemicals that can damage a person’s hair. Therefore, if you want to braid professionally, you should definitely include ‘adding extensions’ to your service list.
When they begin adding extension hair to their braids, many first-timers can’t help their braids becoming suddenly too thick, and you can actually see where the extension begins. Adding too much hair all of a sudden does that.
And here’s the thing: No matter if you add extensions to cornrows, two braids, box braids, or any other style, we always want the feed-ins to look invisible; we don’t want to see where the extensions begin! All you need to see is that beautiful, elegant growth in the thickness of the braid, not where the extensions actually start.
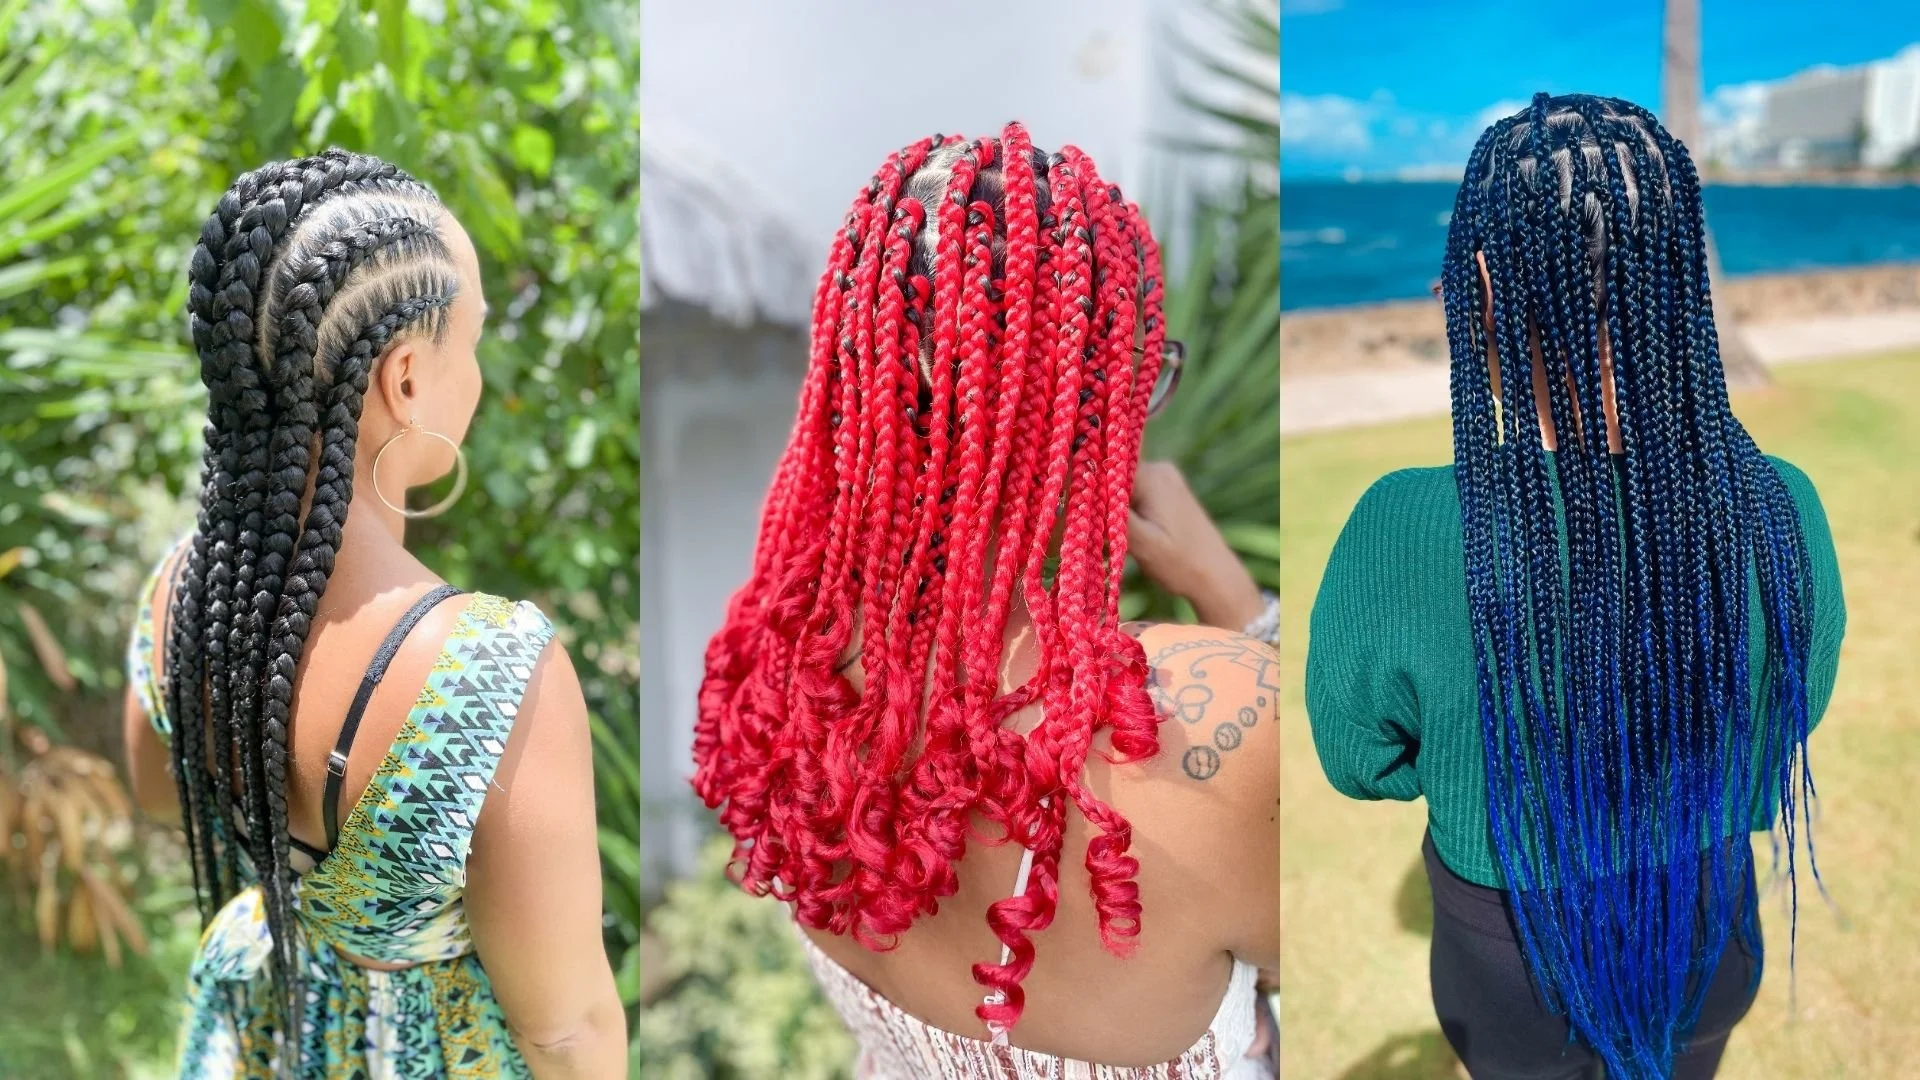
How to fix it? In my Five Braid Actions™ system, feed is the third action every professional braider needs to master. This involves adding extensions little by little while braiding. A good feed means the braid looks natural and seamless, without showing where the extension begins, and maintains a consistent size throughout. If you can spot the actual place where the extensions begin, it means you’re a beginner braider.
Speaking of extensions, let’s move on to the following common mistake.
Braiding Mistake #7: Natural Hair Peeks Out Through the Extension
Maybe you already know how to add extension hair to the braids you create, but struggle with natural hair peeking out through some parts of the braid. Many beginners struggle with this a lot. This is because when they begin, they are uncertain of how much extension hair they should add. Too much hair usually creates extra weight or too thick braids. But when there’s not enough extension hair, it may not completely conceal the ends of the client’s natural hair, and we see the ends of the client’s hair through the braid.
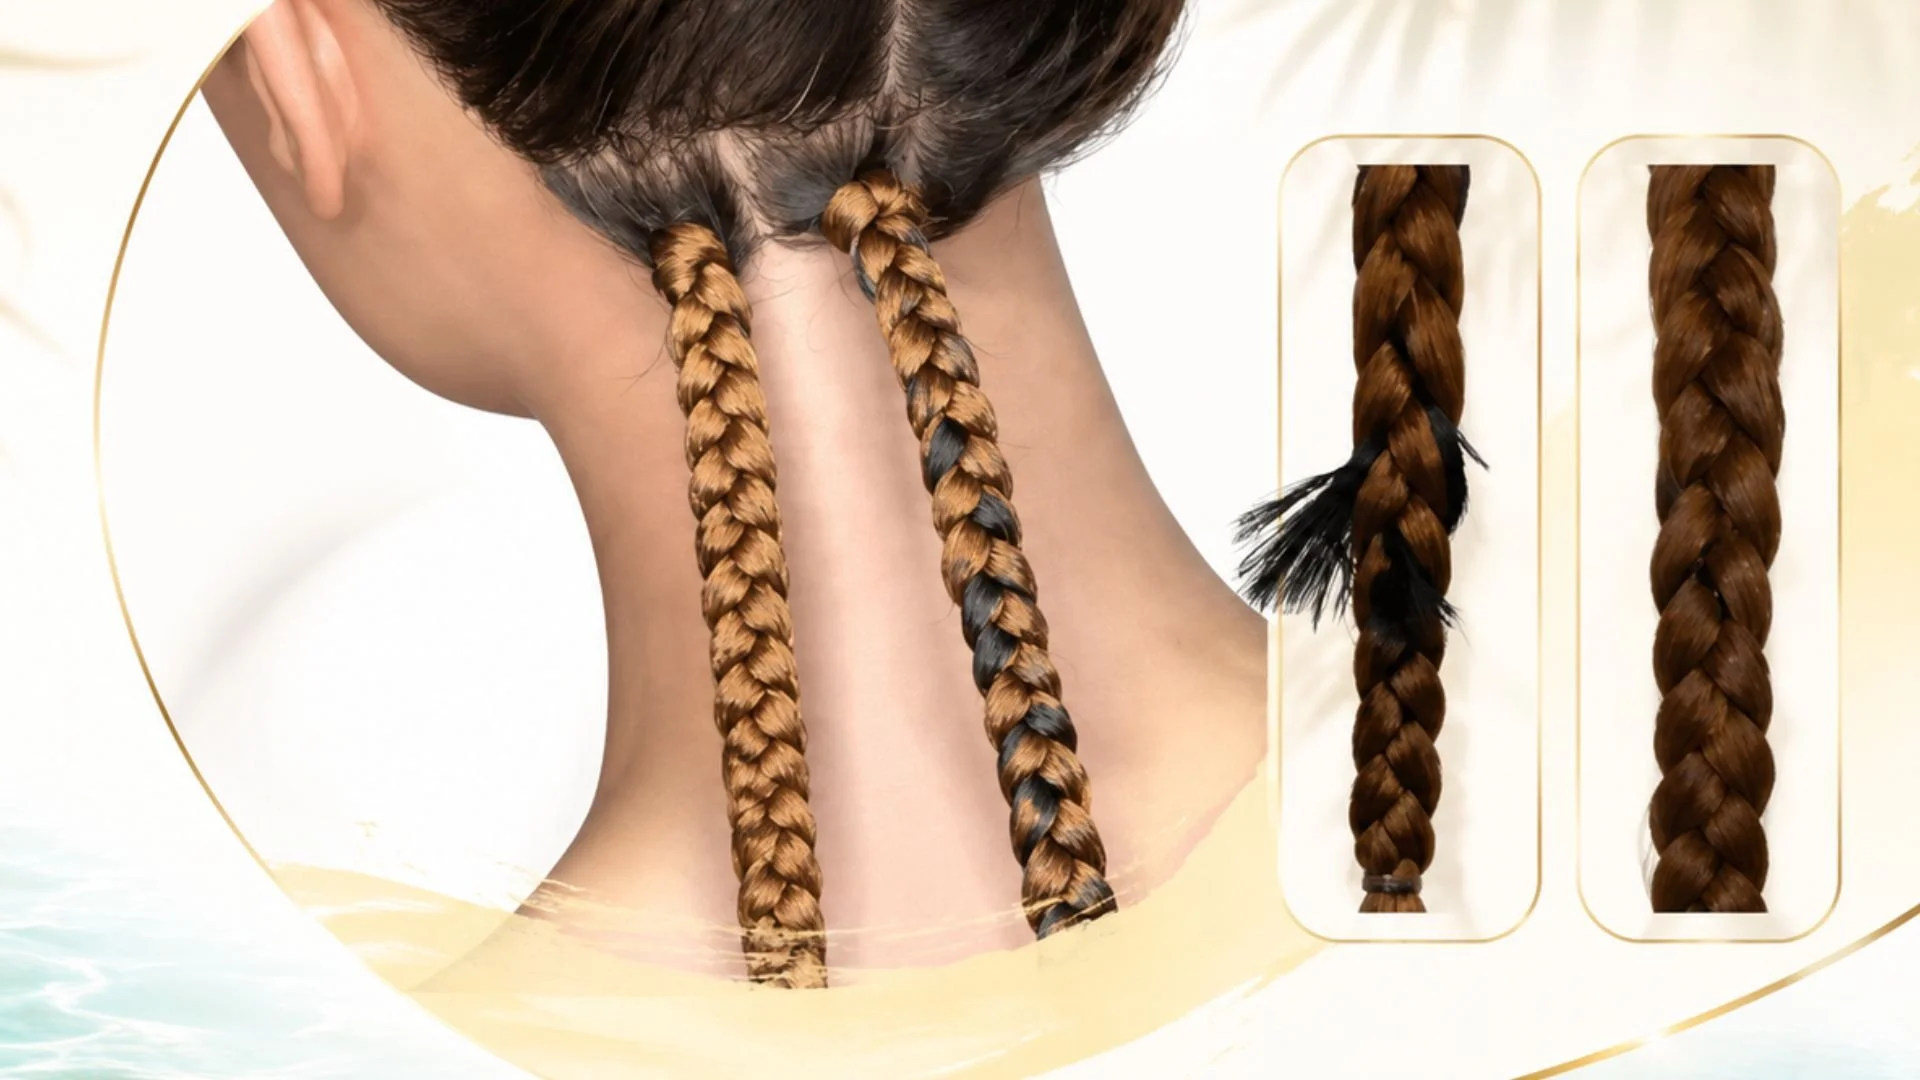
So, how to fix it? We’ve seen the importance of feed in the previous mistake. Maybe you’re already adding extension hair evenly, and it stays in place. So if natural hair keeps peeking out, you need to work on Braid Action #4, which is hide. It consists of the process of hiding the natural hair inside the braid by properly wrapping it with the extensions.
There are two main types of hide:
Hiding color is when you want to hide the whole strand of your client’s hair inside the extension up to the point when you can no longer see their hair, as it’s completely protected by the extensions.
Hiding the ends is for achieving a seamless transition within each braid between the client’s strands and the extension hair.
It may sound complicated, but let me assure you: With our braiding lessons, you’ll be mastering the Five Braid Actions™ and getting results in just a couple of hours.
Braiding Mistake #8: Beautiful Braids That Unravel Easily
Protective braided hairstyles are meant to last for weeks, not hours or just a few days. Nothing is as frustrating as creating the most beautiful set of box braids… and seeing them fall apart as soon as the person walks out of the studio! Sure, you may offer free retouching to your clients, but you’ll end up losing time (and money) if you have to redo some of your braids.
First, I’d like you to check Braiding Mistake #4 in the first part of this guide. We’ve seen why a proper grip is crucial for long-lasting braids. Now, I imagine you’ve already applied firmness to your grip (not too much; we don’t want to pull the person’s hair!) What if the braids you create unravel at the ends? Then, you need to work on a different braid action.
So, what should you do? Chances are you’re braiding great, but you’re failing at the Braid Action #5: seal. This is the process of sealing the ends of the braids to prevent them from unraveling. There are different methods you can implement, such as:
hot water
iron
rubber bands
beads
So which one should you use? This depends heavily on the braids’ style and the client’s preference. A professional braider should know beforehand how to seal the braids before even starting them: Do you want curly ends? Perhaps wavy ends? How about beads, charms, or rubber bands—which color? Ask your client and make sure you have all the necessary supplies before getting started.
Braiding Mistake #9: Braids Feel Oily Afterwards
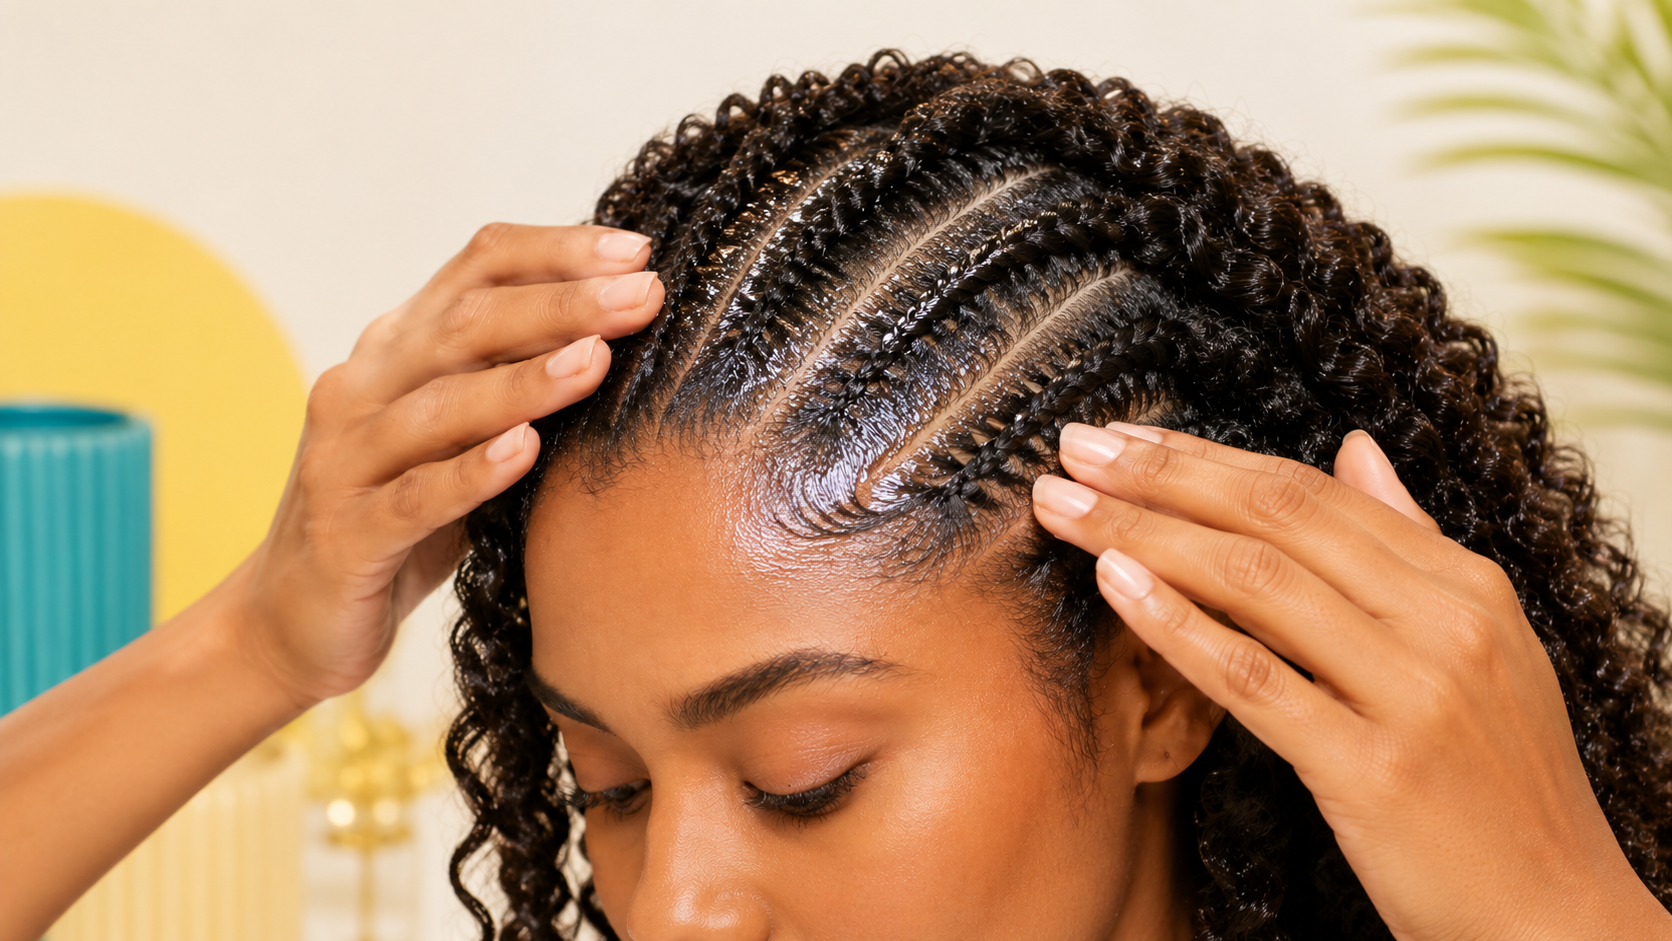
You want your braids to shine, but not to be slippery, sticky, or oily! It’s always best to use the right braiding products. Not only do you need to get the best braiding gel, but you also need to apply just the right amount. Using too much product not only gets your braids oily, but it also leads to product buildup, itchiness, and a dirty scalp.
So how to fix it? Apply just enough gel to smooth flyaways but not enough to create a flaky mess. My recommendation is to spread gel, not apply it directly. Use a quarter-sized amount of product per section for clean parts, and always remember to use the precision end of your braiding comb to clean the remaining product. Before applying it, rub the gel across your fingertips or palms, then trace the parts and smooth the product directly onto the roots.
The lighter the hair type, the less product it can take: When braiding kinky hair types, consider that they can handle a bit more gel to ensure the parts are clean and defined.
Braiding Mistake #10: I Braid Too Slow!
Last but not least, some braiders come to my studio complaining that, while their braids come out perfectly fine, they take forever! I’ve been there myself; I used to think of myself as a slow braider. Some people would tell you to let it go: “Every braider has their own rhythm; as long as your braids look nice, why hurry?”
Sorry, but I’m not going to sugarcoat the reality that way. If you take too long to braid, then you still need to work on your braiding technique. Here’s the thing: If you braid for money, every second you spend on a client, you’re losing another one. If you take all day to create a set of box braids, you won’t be able to book anyone else that day. And you won’t grow professionally.
Even if you’re a parent who wants to braid your kids for school, the faster you get things done, the better! Braids are meant to be time-savers after all.
How to fix it? The more confident you are in your technique, the faster you’ll braid. No second-guessing, no redoing, no hesitating. In the meantime, check how you place your hands: I’ve seen many braiders become faster once they adopt the overhand technique. Try it for yourself!
So there you go: Now you know how to fix your braiding mistakes! Do you want to master your braiding skills and create amazing braided hairstyles? Skip that useless braid tutorial on YouTube and join our braiding lessons. Sign up today!
I look forward to meeting you!